
TV Wall Measurement Guide
How to Measure Your Wall for a Custom TV & Fireplace Build
Learn how to measure for a custom TV wall, document the room and send the details needed for a more useful first design conversation.
Measure the room, not only the blank wall
A useful survey explains the space around the future feature wall
The wall width and ceiling height are only the beginning. Doors, windows, corners, outlets, vents, soffits, molding, flooring and the primary seating position all influence the final composition.
You do not need construction drawings for an initial conversation. A clear set of approximate measurements and six well-framed photographs is enough to compare layouts, identify constraints and prepare the right questions for an on-site verification.
Prepared by TV Wall Studio Florida design & build team
Start with the main elevation
Record eight dimensions before thinking about finishes
Use one fixed reference point—usually the left corner of the feature wall—and measure every opening or device from that same point. Keep all dimensions in inches and label whether the measurement is approximate.
| What to measure | How to record it | Why it matters |
|---|---|---|
| Total wall width | Corner to corner | Establishes the maximum composition width and the amount of breathing room beside cabinetry or panels. |
| Finished ceiling height | Floor to ceiling | Controls the vertical balance of the TV, fireplace, mantel and top trim. |
| Doors and windows | Width, height and distance from corner | Prevents the feature from crowding trim, curtains, switches and circulation paths. |
| Outlets and switches | Center from floor and nearest corner | Shows what can remain, move or be concealed inside the new wall. |
| Soffits, beams and vents | Width, drop and projection | Reveals ceiling constraints and areas where airflow or access must remain clear. |
| Baseboard and crown | Height and projection | Helps determine whether existing trim should stop, continue or be integrated. |
| Primary seating distance | Wall face to seated eye position | Supports TV-size and viewing-height decisions before the elevation is drawn. |
| Available wall depth | Existing wall face to allowable projection | Influences framing, fireplace depth, cabinetry and clear passage through the room. |
A photo of the measurement provides useful context and reduces confusion when a handwritten note could refer to more than one wall.
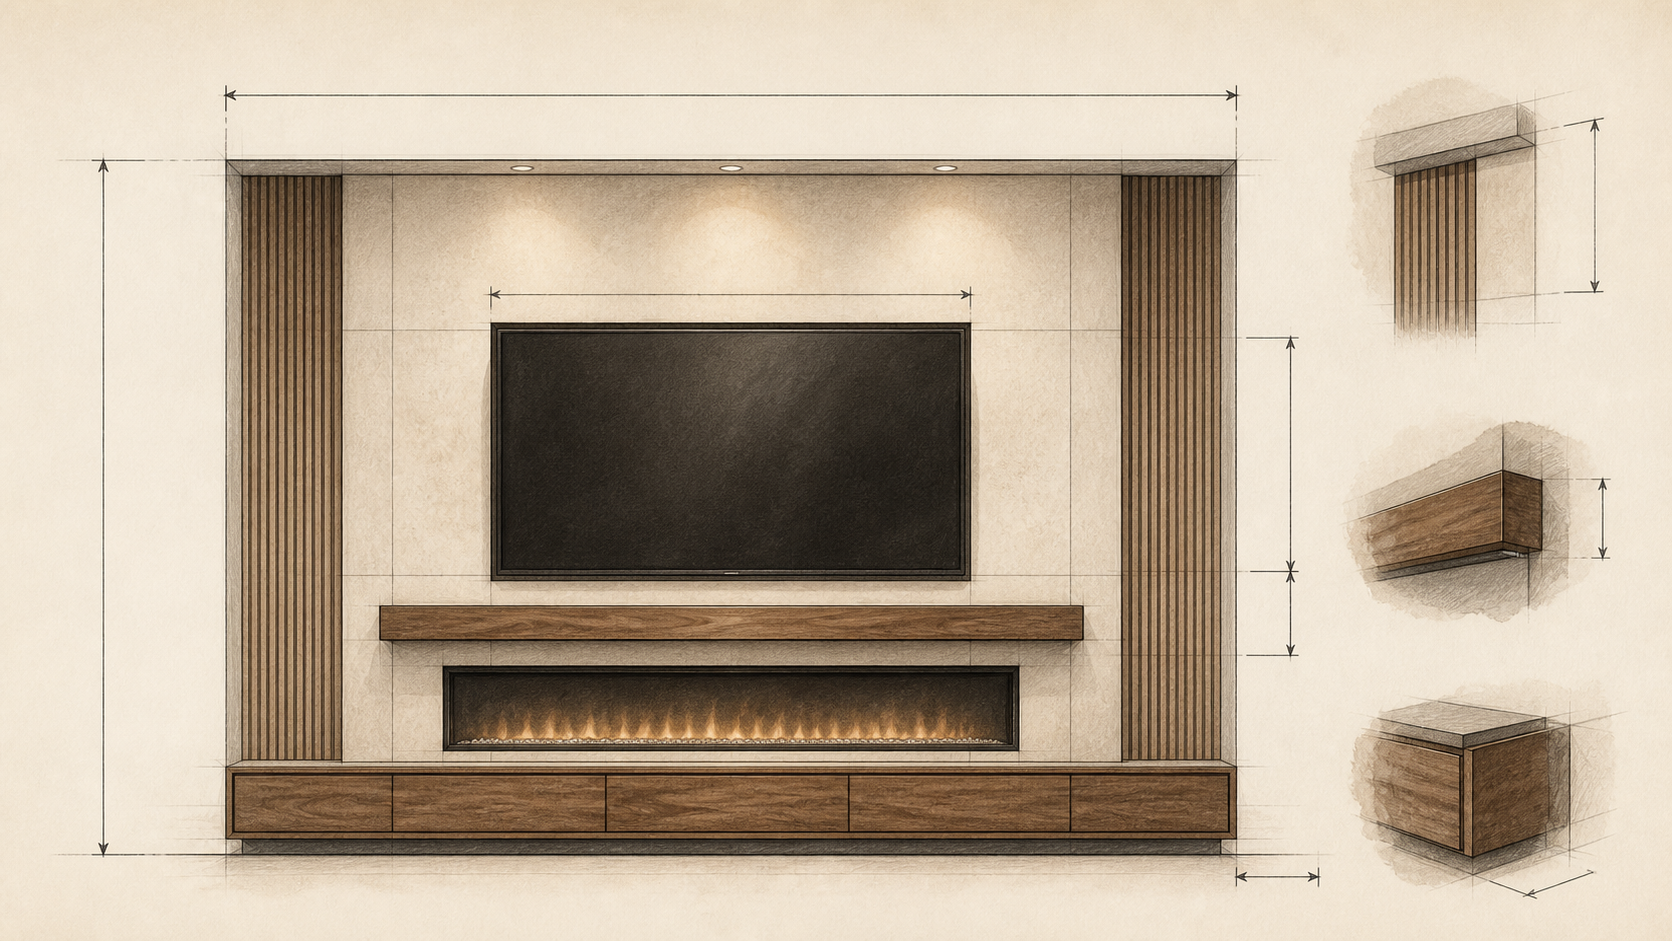
A simple field kit
Use tools that make the information easy to verify
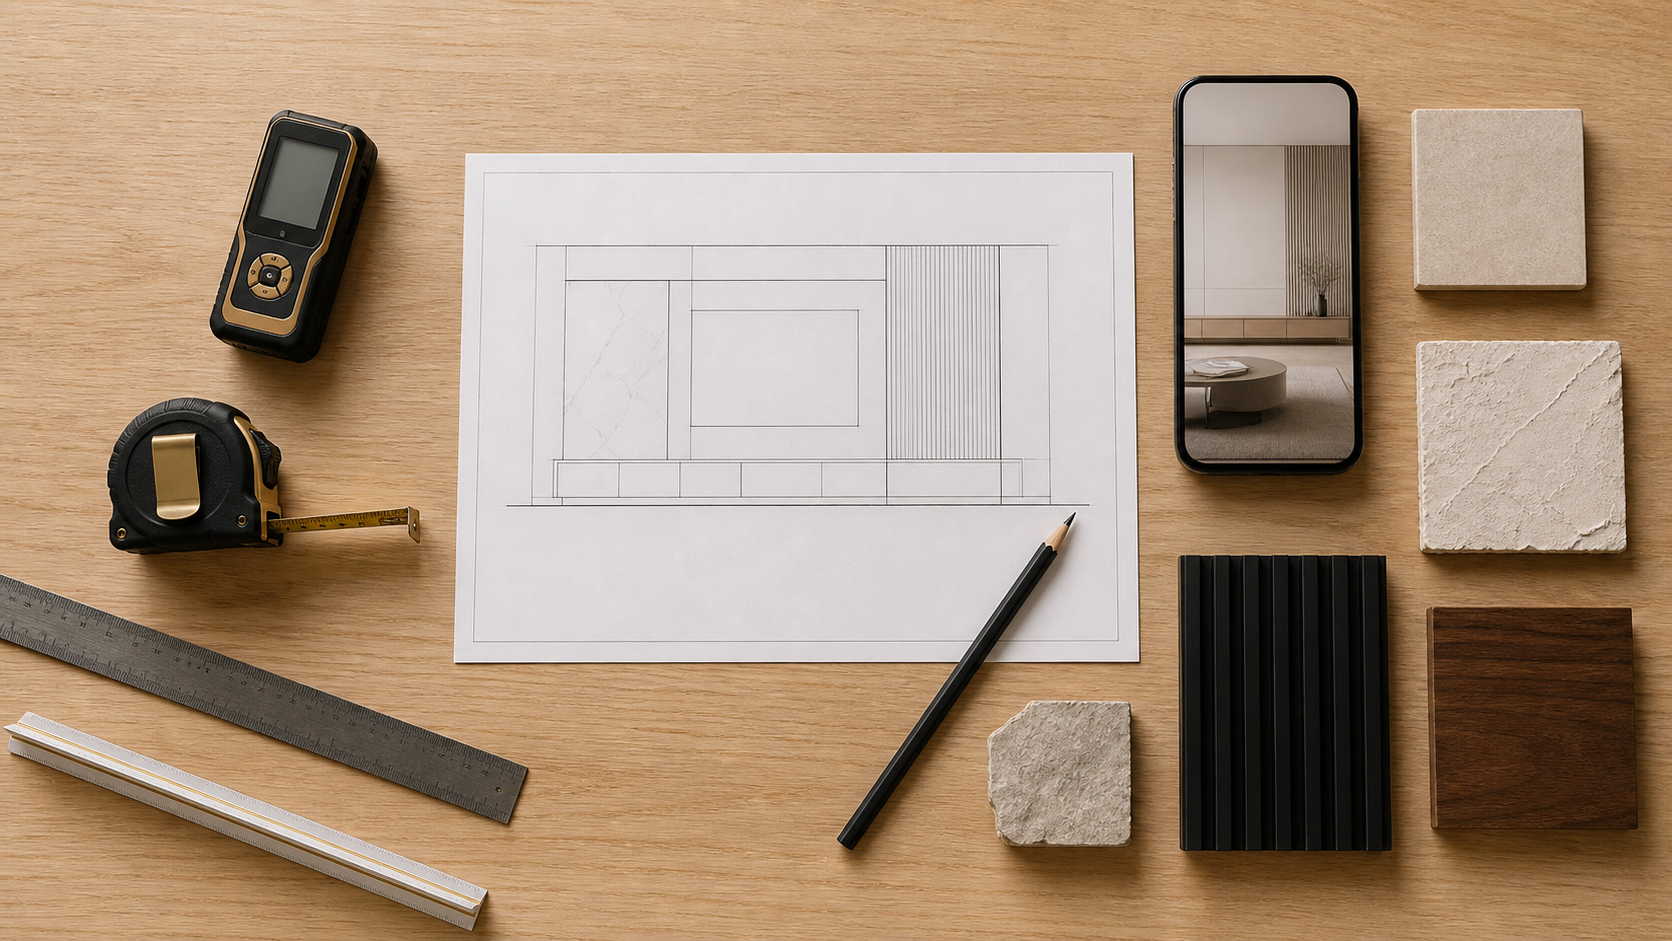
What to have nearby
A tape, laser, pencil and phone are enough
Use a tape measure for trim, outlets and short distances. A laser distance meter is helpful for overall wall width, ceiling height and seating distance. Draw the wall as a simple rectangle, place doors and windows, then write each dimension next to the element it describes.
Photograph the sketch before sending it. If a dimension is difficult to reach safely, mark it as approximate rather than climbing furniture or stretching across a stair opening.
Review the concept guideClient measurement checklist
Save or print this list before walking the room
Complete what you can. Final construction dimensions, substrate conditions, electrical requirements and product clearances are verified before work begins.
- Total width of the proposed feature wall
- Floor-to-ceiling height at the left, center and right
- Distance from each corner to nearby doors or windows
- Door and window trim width and projection
- Outlet, switch, data and cable locations
- Ceiling vents, returns, sprinklers and recessed lights
- Soffit, beam, crown molding and baseboard dimensions
- Existing television model and overall outside dimensions
- Preferred electric fireplace model or approximate width
- Soundbar, game console, receiver and media equipment
- Primary seating distance and approximate seated eye height
- Maximum acceptable projection into the room
- Flooring type and whether it continues beneath the feature
- Photos of the wall, adjacent corners and opposite seating area
Only record visible device locations during the client survey. Electrical routing and circuit requirements belong in the professional site review.
Six photos that answer most early questions
Step back, keep the camera level and show the surrounding room
Straight On
Center the wall in the frame and include the complete floor-to-ceiling area.
Left Corner
Show the wall return, adjacent opening, trim, switches and nearby furniture.
Right Corner
Capture the opposite return, doorway, window or circulation path.
Ceiling Conditions
Include vents, lights, beams, soffits, crown molding and ceiling changes.
Utilities
Photograph visible outlets, data plates, cable boxes and existing equipment.
Viewing Position
Shoot from the primary seat toward the wall to explain distance and sightline.
Context changes the design
Document nearby architecture and the seating relationship
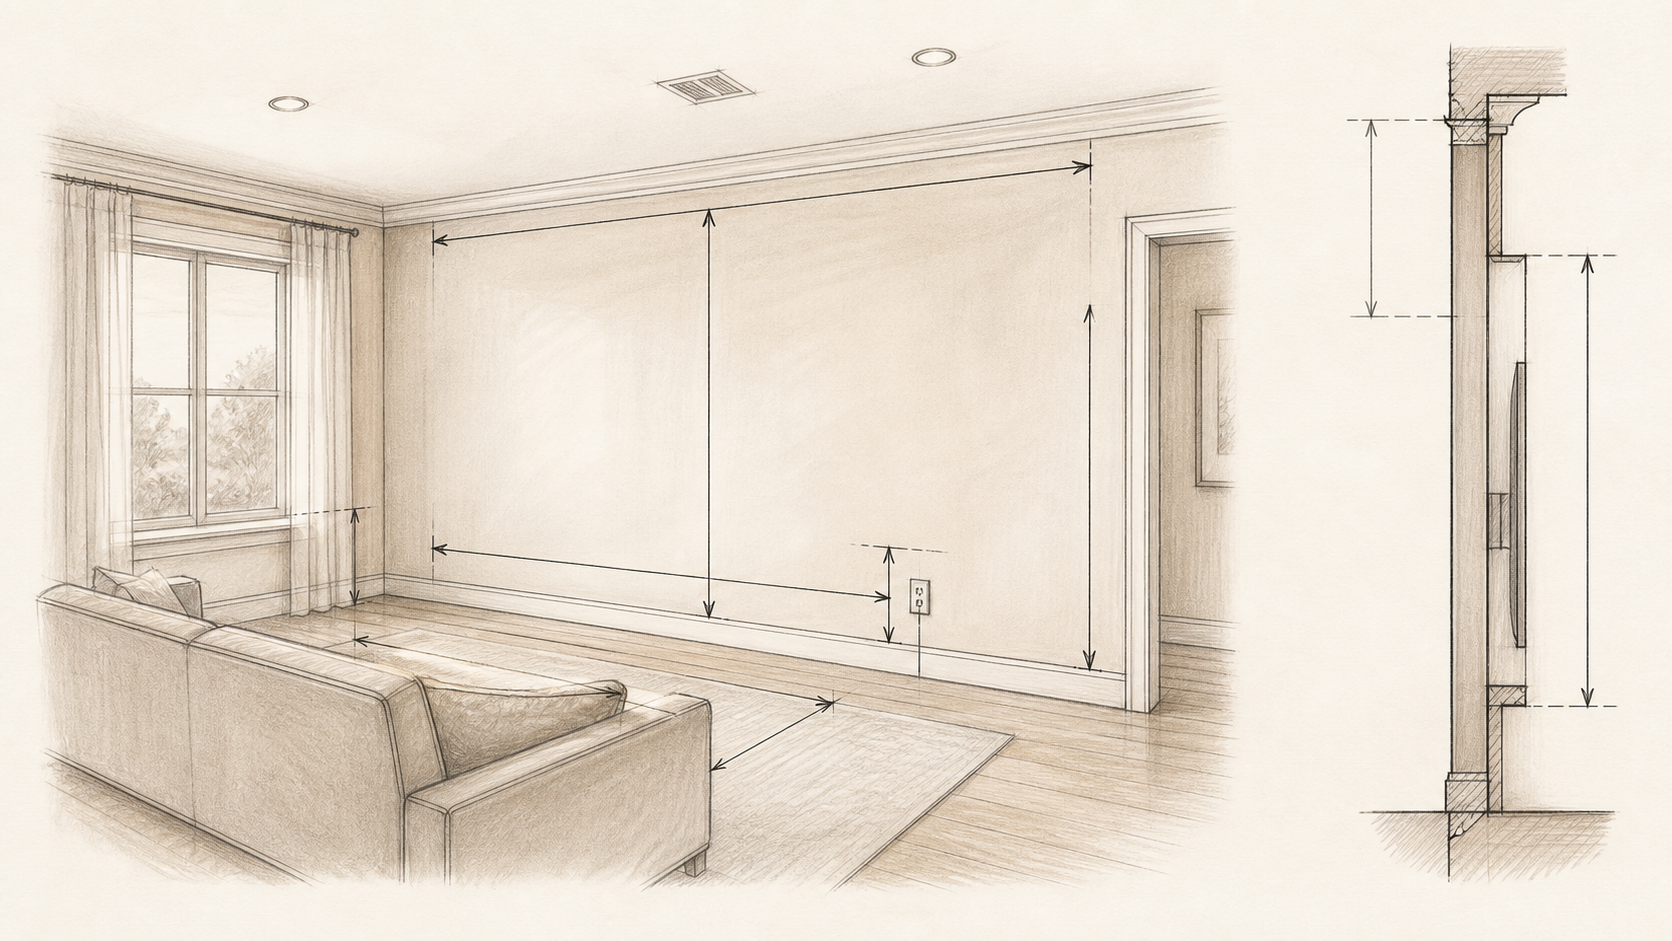
Adjacent Openings
A door or window can make a technically centered feature feel visually off-center. Include both sides of the wall in the survey.
Ceiling Plane
Tray ceilings, beams and soffits may suggest a different centerline than the floor plan.
Traffic Path
Record the clear route past the proposed wall so cabinetry and hearth details do not narrow circulation.
Viewing Zone
Show the main seating position and any secondary angle that should still have a comfortable view.
Measure the equipment too
Model numbers are more useful than diagonal sizes alone
Television
Share the exact model or measure its outside width, height, depth and VESA mounting pattern. Include any planned future size change.
Electric Fireplace
Provide the exact model when selected. Overall body, viewing area, rough opening, depth and approved clearances can differ from the advertised size.
Soundbar
Record width, height, depth, mounting method and required space below the television.
Media Components
List consoles, receivers, streaming devices, routers and control hubs that need ventilation, power or service access.
Decor and Storage
Note large objects, books or framed photos you expect to display so shelving is designed at a useful scale.
Lighting Controls
Identify existing switches and whether shelf lighting, fireplace lighting or accent illumination needs separate control.
The client survey helps with early design. The exact appliance manuals, field conditions and verified site dimensions control framing, electrical work and installation.
Common measurement mistakes
Small omissions can change the entire elevation
Measuring Only Between Baseboards
Record both the finished wall width and any trim projection. The feature may meet the drywall differently than the existing baseboard.
Ignoring an Uneven Ceiling
Measure height at several points, especially below trays, beams or long spans.
Using TV Diagonal as Width
A 75-inch TV is not 75 inches wide. Use the manufacturer’s outside dimensions or measure the screen frame.
Cropping Photos Too Tightly
A close picture hides adjacent architecture. Include the corners, ceiling and floor in at least one straight-on image.
Forgetting Wall Projection
Fireplace depth, framing, cabinetry and finish material can move the new face into the room.
Treating Estimates as Final Dimensions
Early measurements support concept and budgeting. They are verified on site before fabrication or construction.
Homeowner questions
TV wall measurement FAQ
Do My Measurements Need to Be Exact?
Approximate dimensions are useful for an early conversation when clearly labeled. Final measurements are verified before construction and ordering.
Should I Measure in Inches or Feet?
Use inches for consistency. Write width first, then height, and include fractions when they are easy to read accurately.
What If the Wall Is Not Square?
Measure ceiling height at several points and photograph the corners. A professional site review will document irregular conditions.
Can You Design from Photos?
Photos and approximate measurements support an initial direction and estimate. Site verification is still required before final construction decisions.
Should I Choose the TV and Fireplace First?
Exact models are extremely helpful because their outside dimensions, openings, clearances and mounting details shape the wall.
What Should I Send with the Measurements?
Include six room photos, your city, preferred style, TV model, fireplace preference, storage needs and any inspiration images.
Ready for a clearer first conversation?
Send the wall, room photos and the measurements you have
We’ll review the space, identify missing information and organize the television, fireplace, cabinetry, materials and lighting into a practical starting direction.